Thursday, February 16, 2012

A BIG project... dresser turned media stand

I knew when we moved into this house we would need to get a media center to put under the TV. In our Charlotte house our TV was mounted over the fireplace and we used a not so pretty storage box under the window to put our media boxes (ie directv box and DVD player). In this house we have a great BIG empty wall! UGH! First thing we did, bought a new TV. Our previous one looked so small on that great big wall. Second thing we needed to do was get a media cabinet or something to hold the boxes and other goodies. Jason suggested that I "redo" a piece of furniture with my "new hidden talent" (his words, not mine."

I saw a couple of GREAT redos on some of the blogs I follow. They started with a long dresser and made it over. I used this as inspiration. So to craigslist I went! Finding the perfect piece was a HUGE challenge. I did not want to pay too much because I was not sure if it would turn out how I pictured it in my mind. Not knowing Orlando craigslist proved to be tricky. I didn't want to drive all over the place to look for random house/pieces of furniture and NOTHING was really sparking my interest. I found the local Salvation Army (one of my go to places in Charlotte) and they didn't have anything that would work so I decided to go look at the Habitat ReStore as well. (luckily we have two pretty close to the house). I found the "perfect" piece but it was part of a 5 piece set. (My mom was with me and we decided that we should ask if they would break the set up...) I figured it couldn't hurt. Worst case I would pay for the whole set but only take the long dresser. They were asking 135 for a long dresser, the mirror, a chest of drawers, two night stands. Luckily for me.. they agreed. They sold it to me for 50 dollars!! What a steal!! This piece wasn't pretty, AT ALL, but it was the perfect size and I could see the potential!!


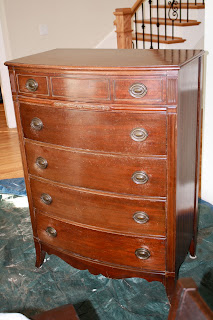
From the before picture you can see that it was a beautiful 1980's piece with a combination of real wood and partical board.  I wanted to find a dresser that had storage potential (behind the door there are three drawers) and I knew I wanted to take out some drawers and make shelves. 

I HATED the doors so the first thing I did was take them off and my mom started scrapping off the layers of decorative particle board. (this was not an easy job and it was pretty time consuming. Thank goodness for our hammer, screw drivers, and flat blade scrapper.
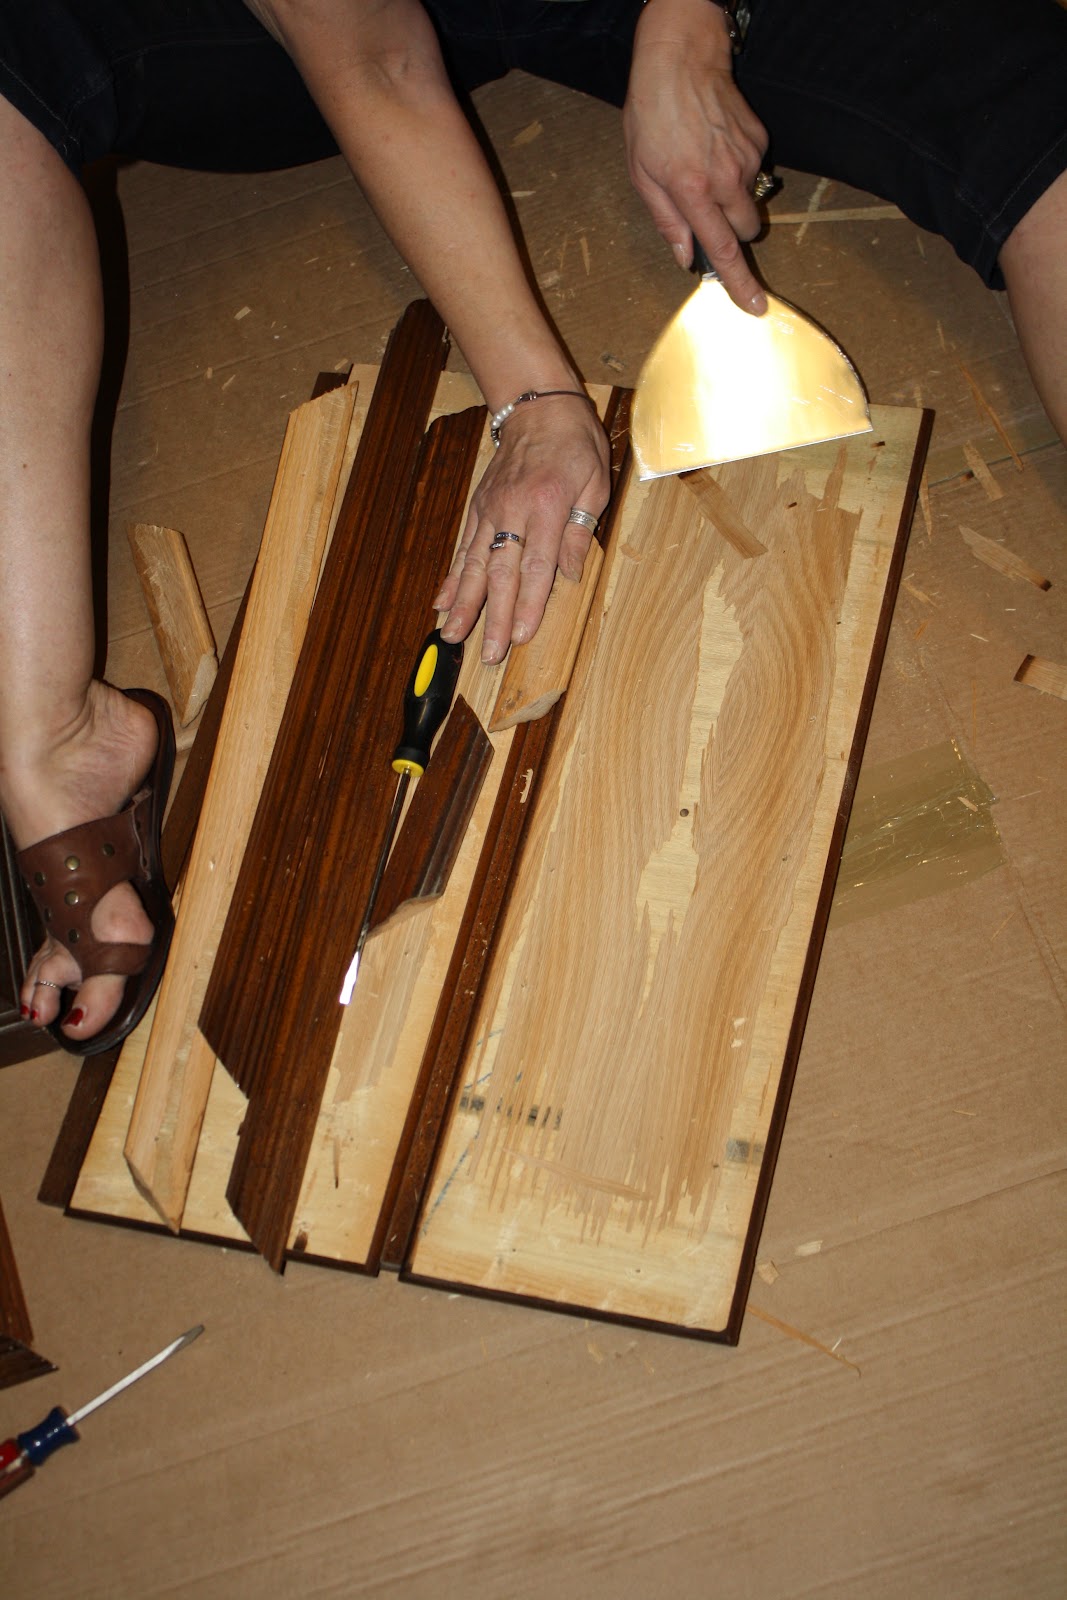
I didn't know what I was going to do with the doors but I figured I should keep the molding because it was in pretty good condition and it was the right size to frame the door squares (which meant less work for me in the long run, I wouldn't have to learn how to use the saw to cut angles.)
the ugly pieces that were in the middle of the doors.


I sanded down the doors after mom scrapped all that she could off. I was able to get them pretty bare and I used wood fillers to fill in any holes or uneven spaces.

I decided to take out one of the drawer "shelves" so I could have one shelf for media products and one larger shelf for a basket to put toys in.

 When I took out the drawer I had to remove the rail guide that kept the drawer "on line" and held the drawer in the dresser. There was a square "hole/dip" on each shelf.  I bought some MDF to fill in the square hole on each shelf . I wanted the shelves to be even and flat. I measured each "hole" and cut a square to fit in the hole. (I had to do this for the top and bottom of the "floating shelf" and also the top of the bottom shelf, so I needed six squares total.) I used some liquid nails to attach the MDF board to the existing board. I then used wood filler to fill in the grooves around the edges of the MDF and the existing boards. I wanted to to look like one piece once I painted it.


I also cut made new "backs" for the bottom shelves to give it a more clean and smooth look.

Once I finally filled in all the hole and sanded it all down so it was even, I painted. I used a Behr Premium Ultra Paint-Stonewashed. After two coats of paint I used 80 grit sandpaper and distressed it. I focused ont he corners and the edges.


After distressing I used Shermin Williams Charcoal Wood Classic stain. I did it one section at a time... Brush it all on...
Then wipe it off using a rag. I wipe it all off first and then go back over it with a clean rag and get all the remaining stain off.


For the doors I found these decorative pieces of metal at home depot.They we shiny-gray metal. I painted them with a.s. Coco chalk pain.
I used a staple gun to attach the metal to the molding and then I used liquid nail to attach the molding to the doors. Once that dried I used clear caulk to fill in all the gaps.

I was ALMOST done... all I needed to do was drill some holes in the back for the cords to be fed threw. THEN my husband informed me we would need more than two holes and the electronic equipment needed to breath... that I should just cut the whole back of the shelf out! REALLY!!?? after two weeks of me working on this piece he NOW had an opinion! After I taught myself to use the drill. After I had almost perfected it all I have to make this change. He asked it I wanted help, I kindly declined. I had gotten this far by myself, I wanted to finish it on my own.


I am very happy with the way it turned out! This is the biggest project I have taken on. Now we just need to get all the electronic equipment set up and paint the living room! It's always something!!

Monday, February 13, 2012

a few pictures

Here are a few pictures from the last few weeks. We are doing well and enjoying our new house and surroundings.


Saturday, February 4, 2012

Charlotte weekend

So I am happy to say that I have gotten threw almost all our our boxes! Yay! I think that's pretty good for a week and with two kids! Now we just need to get some pictures on the walls and it will really feel like home!

Tyler and I are headed to Charlotte for a short trip this weekend. One of my best friends is having a baby in March and her shower is this weekend. We are flying in today ( saturday and leaving tomorrow mid afternoon.) Although I'm pretty excited about going back (even if it's just for 36 hours) I think it will also make me sad since it will be a reminder that Charlotte is no longer home.

Can't wait to start showing you pictures of the house now that it's finally looking put together! I promise I'll share next week.

Monday, January 16, 2012

how to re-do a dresser

So my friend Jennifer asked me to write up a tutorial on how I refinish a piece of furniture. As I mentioned before, when we move to Florida we are changing all of our bedroom furniture around. Currently Tyler is using the Chest of Drawers from the guest bedroom set and since we will need that when we take over that set as our new bedroom furniture I have been on the look out for a new dresser for him. I found this piece on craigslist (of course) and seller even delivered it to my house! (Bonus!!) Instead of waiting until we move to Florida to do this piece I decided to tackle it this weekend in my spare time! I used Annie Sloan Chalk paint (I used Paris Gray) on this piece as well so I did not need to prime it and I also decided not to stain it. I will layout the steps I did do to distress this particular piece.


The dresser before

With true chalk paint you aren't suppose to have to stand or prime your furniture. I have discovered that it is more beneficial  to stand the surface of the piece to take the "finish/sealer" off.  My goal here was to take the "shine" off.

If I was not using chalk paint I would have sanding it down a bit further, trying to get past the original stain color and then I would have primed it.  (In case you are using a traditional latex paint to do your piece of furniture.)


I used a hand held rotary sander on the main part and then I went back and sanded with a sanding block after I took off the handles. 


This is after one coat of paint. You can paint it on how ever you are comfortable. I used both a sponge roller (I think it was called a trim roller) and a traditional paint brush (I use Purdy bushes).


I used two coats of paint to get an even color. After it has had time to dry (I typically wait until the next day) you can start distressing it.

To get a distressing/chipped paint look get some medium to heavy grit sand paper/or sanding block. I start with the corners and edges. Start lightly-but just start sanding the paint away.  You can do as much or as little as you want. It depends on the look you are trying to achieve.


Once you have sanded the edges and sides down to where you like them you can either stain your piece to add a little more to the look or just seal it. Like I said at the beginning, I did not stain this piece because I liked the chalky gray color. Adding stain will change the color of your piece slightly. Depending on the color stain you pick, it may change it a lot. (so just keep that in mind). If you want to know how to use stain to distress your piece, send me a message and write up the step for you.


After I sanded down the edges then I used a water based poly coat to seal and protect it. I chose the satin finish because I didn't want much of a shine on this piece.


On pinterest I once saw that someone painted an entire dresser with chalkboard paint and I thought that was a really cute idea. I also saw (on pinterest) someone once use chalkboard paint on rubbermaid tubes so they could label what was inside, another great idea. SO I decided to combine those two ideas and apply them to this dresser. I thought it would be cool to add a little chalkboard rectangle to each drawer so I could label what was inside.

The top drawer has a little more detail than the rest, it has a little molding on it to make three skinny rectangles. I thought it would be a good idea to use the middle rectangle size and location as my model/guide. I measure it and then measured each drawer. I wanted to make sure each chalkboard block was centered and the same size. (thanks to my wonderful hubby who helped with all the math and measuring!) I made a template, traced it on each drawer and then taped off each rectangle.


I then added newspaper to the outside edges (since I was using spray paint-chalk board paint). I didn't want it to get on anything or go anywhere other than the center rectangle box.


I took them outside and sprayed them three times over the course of an hour and a half.


The finished product! My newly repainted dresser for Tyler's room. 


Now if only my friend Nellie lived a little closer I could have her write on each rectangle and it would look much prettier!!